The first time I made Key Lime Pie, I was convinced lime was lime. I grabbed the regular ones from the grocery store and proudly whisked away, thinking I had Florida’s magic in my hands. The result? Meh. It was fine but flat, missing that bright, citrusy soul that makes your eyes widen at first bite.
A week later, I found real Key limes at a local market, tiny and stubborn but bursting with perfume. I squeezed what felt like a hundred of them, got blisters, and baked again. When I took the first spoonful, it was pure tropical heaven. That day I learned: patience pays, and authenticity always wins.
This pie is creamy, tart, nostalgic, and effortless once you understand it. It’s the kind of dessert that makes you forget everything stressful, at least for a slice or two.
So tell me honestly, do you chill your pie overnight like a saint or sneak a warm bite before it sets?
Table of contents
- What Is Key Lime Pie
- Why This Pie Wins Hearts
- The Difference Between Key Lime and Regular Lime Pie
- Recipe for Key lime pie
- When Things Go Wrong and How to Fix Them
- Variations and Substitutes
- Pairing Suggestions that goes well with key lime pie
- 10 Common Mistakes and How to Fix Them
- Best tools to make Key lime pie
- Other dessert recipes
- Conclusion
What Is Key Lime Pie
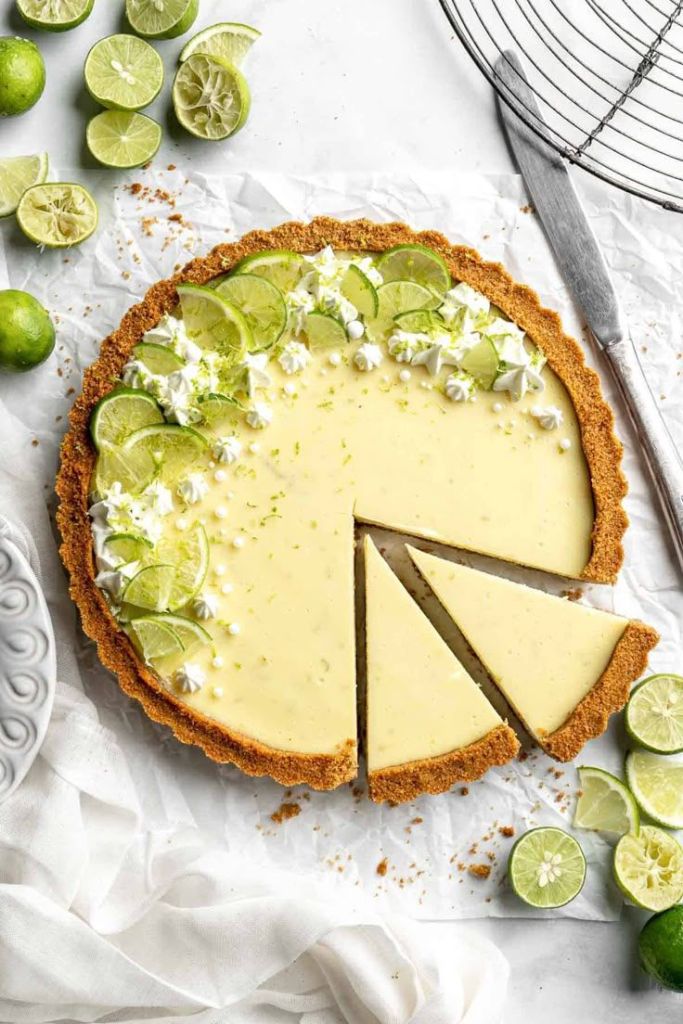
Key Lime Pie is Florida’s pride and joy, a dessert that captures sunshine in every bite. It’s made with Key limes, those little citrus gems from the Florida Keys that taste more floral and aromatic than their larger cousins. The filling is smooth and tangy, thickened naturally by the magic of chemistry between lime juice and sweetened condensed milk.
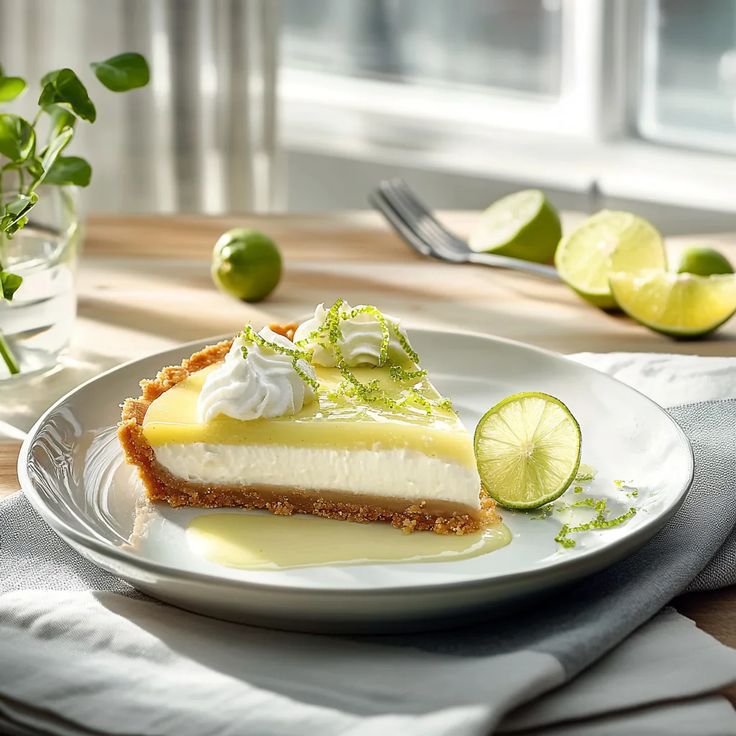
It’s set inside a buttery graham cracker crust, then crowned with a soft layer of whipped cream or meringue. The color isn’t neon green but a gentle yellow that glows like early morning light.
If you’re curious about its coastal roots, Visit Florida shares the story of how sponge divers and sailors in the 1800s turned this humble dessert into an icon.

Why This Pie Wins Hearts
Because it’s simple, nostalgic, and joyful. Key Lime Pie doesn’t shout for attention, it just glows with charm. It’s cool on the tongue, fragrant from the limes, and light enough to make you reach for another bite.
- Creamy without being heavy
- Tart but balanced with sweetness
- Refreshing like sea breeze on a hot afternoon
- Simple yet sophisticated enough for dinner parties
And that crust, buttery and crumbly, catches every bit of that citrus custard like a good friend who never lets you down.
The Difference Between Key Lime and Regular Lime Pie
| Feature | Key Lime Pie | Regular Lime Pie |
|---|---|---|
| Lime type | Key limes, small and floral | Persian limes, large and acidic |
| Flavor | Tangy yet soft and aromatic | Sharper and more acidic |
| Color | Pale yellow | Bright green (from coloring) |
| Texture | Velvety and light | Firmer, less creamy |
| Authenticity | Born in Florida Keys | Inspired versions elsewhere |
If your pie looks neon, it’s probably the copycat cousin, not the real deal.
Recipe for Key lime pie

Easy Key Lime Pie Recipe
Equipment
- 9 inch Pie pan
- Zester
- Hand Mixer
Ingredients
Crust
- 1½ cups graham cracker crumbs
- 6 tablespoons melted butter
- ¼ cup sugar
Filling
- 3 large egg yolks
- 1 can 14 oz sweetened condensed milk
- ½ cup fresh Key lime juice about 20–25 small limes
- 1 tablespoon lime zest
Topping
- 1 cup heavy cream
- 2 tablespoons powdered sugar
- ½ teaspoon vanilla extract
Instructions
Prepare the Crust
- Preheat your oven to 180°C (350°F).
- In a medium bowl, combine graham cracker crumbs, melted butter, and sugar. Stir until the mixture resembles wet sand.
- Chef’s tip: Press a handful in your palm — if it holds its shape, it’s perfect.
- Pour the mixture into your pie pan. Use the bottom of a glass or measuring cup to press it evenly along the bottom and sides.
- Bake the crust for 8–10 minutes until lightly golden and fragrant.
- Remove and let it cool completely while you prepare the filling.
Separate and Beat the Egg Yolks
- Separate the egg yolks from the whites (save the whites for meringue if you like).
- In a large bowl, beat the yolks on medium speed for 2–3 minutes, until slightly thickened and pale.
- Tip: You’ll know it’s right when the yolks lighten in color and leave soft ribbons when whisked.
Add Sweetened Condensed Milk
- Pour in the can of condensed milk.
- Beat again for 2 minutes until the mixture is smooth and creamy.
- The texture should look glossy — that’s when you know it’s ready for the lime juice.
Slowly Add Lime Juice and Zest
- With the mixer on low, gradually pour in the Key lime juice while whisking continuously.
- Important: Don’t dump it all at once. The acid in the juice thickens the mixture, and adding it too quickly can make it curdle.
- Stir in the lime zest for extra aroma and flavor.
- Mix just until smooth and combined.
Fill and Bake the Pie
- Pour the filling into the cooled crust and smooth the top with a spatula.
- Tap the pan gently on the counter to release any air bubbles.
- Bake for 15–18 minutes, just until the edges are set but the center still has a slight wobble.
- Chef’s note: Overbaking causes cracks, so pull it out even if it feels slightly underdone. It’ll finish setting as it cools.
Cool and Chill
- Remove the pie from the oven and cool it on a rack for 1 hour.
- Then refrigerate for at least 4 hours, or overnight for the best texture.
- Tip: Don’t rush this part. The chill time lets the flavors settle and gives that perfect creamy texture.
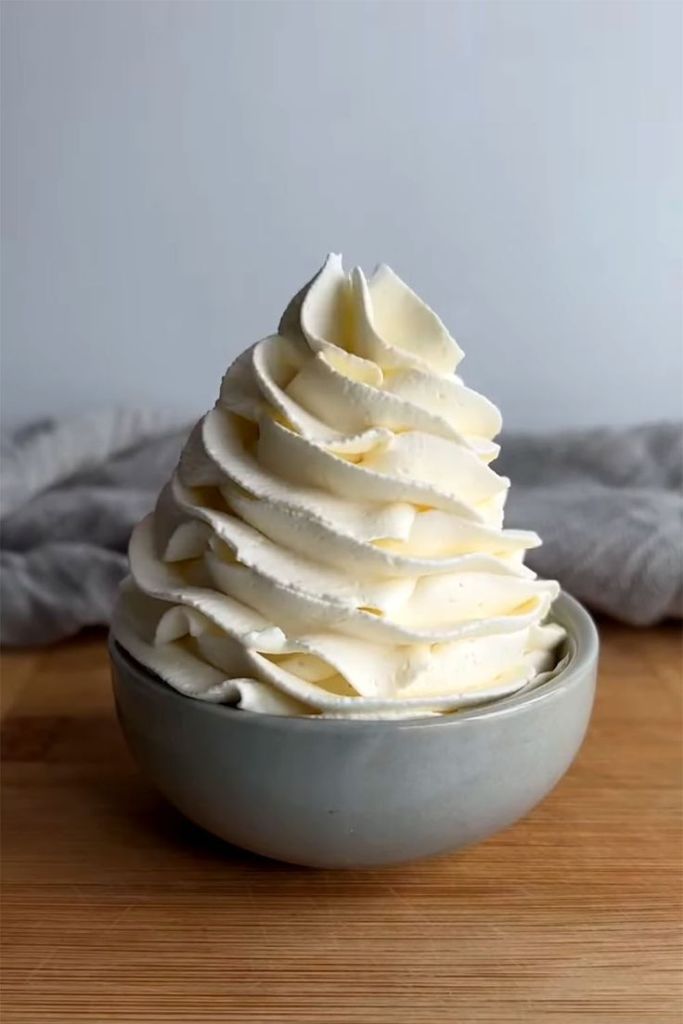
Whip the Cream
- Just before serving, beat heavy cream, powdered sugar, and vanilla until soft peaks form.
- Soft peaks: The cream should hold its shape but still look smooth and pillowy.
- Spread or pipe the whipped cream over the chilled pie.
- Sprinkle a little lime zest or toasted coconut for garnish if you like.
Slice and Serve
- Use a warm knife (dip it in hot water and wipe dry) for clean slices.
- Serve cold, ideally with a cold brew or a mojito on the side.
Notes
- Key Lime Substitute: Mix equal parts regular lime and lemon juice if real Key limes aren’t available.
- Extra Tangy Version: Add an extra teaspoon of zest to the filling.
- No Mixer? A whisk works fine — it’ll just take longer to blend.
- Make-Ahead Tip: The pie keeps beautifully for up to 3 days in the fridge.
- For Meringue Lovers: Top with meringue instead of whipped cream, then toast it lightly with a kitchen torch.
Nutrition
When Things Go Wrong and How to Fix Them
Even seasoned bakers have cracked a pie or two. Here’s how to rescue it when things don’t go your way.
- Filling too runny – You probably underbaked it. Return it to the oven for 10 more minutes until the center just jiggles.
- Pie cracked – That’s from overbaking. Next time, pull it out as soon as the sides are firm but the middle still wobbles slightly.
- Too sour – Add a little extra condensed milk or top generously with whipped cream.
- Too sweet – Stir in more lime zest or a squeeze of juice before baking.
- Curdled filling – The lime juice went in too fast. Pour it in slowly next time while whisking gently.
- Soggy crust – Always blind bake your crust for 10 minutes before filling.
Variations and Substitutes
- Coconut Key Lime Pie – Mix shredded coconut into your crust for an island-style twist.
- Frozen Key Lime Pie – Skip the bake and freeze your pie for an icy summer dessert.
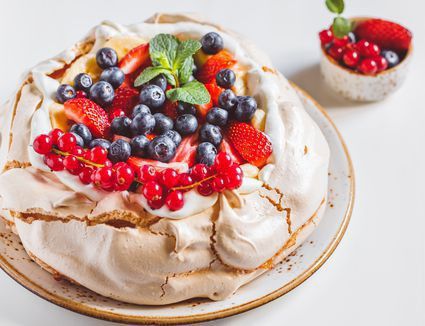
- Meringue version – Swap whipped cream for a torched meringue top if you like drama.
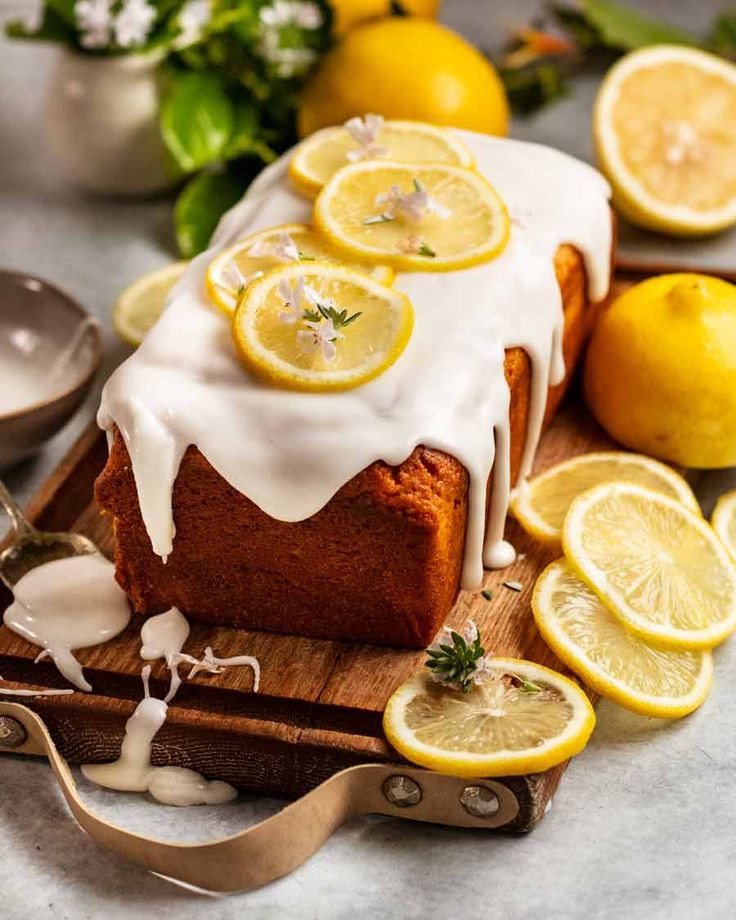
- Meyer Lemon Pie – Use Meyer lemons when Key limes aren’t available. The flavor is bright and smooth.
- Gluten-free crust – Crushed almonds or gluten-free crackers work perfectly.

Pairing Suggestions that goes well with key lime pie
When I serve Key Lime Pie, I like to build a tropical table around it. Here are some combinations that make it shine.
- Fresh raspberries or strawberries for color and contrast
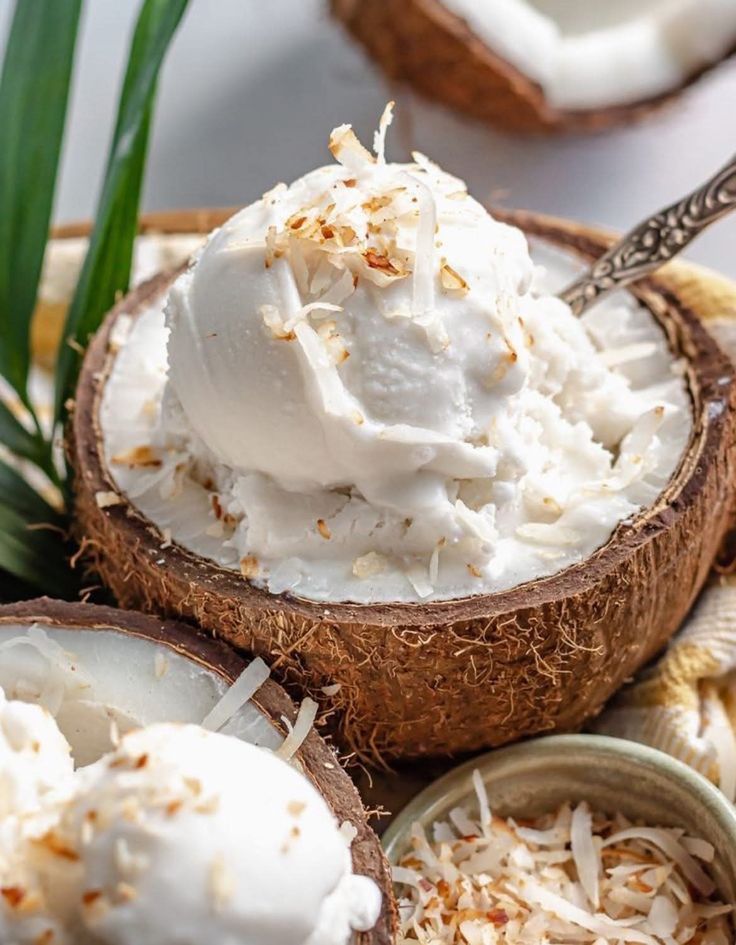
- Coconut ice cream or gelato to echo the creaminess
- Sparkling lemonade or mojito mocktails for refreshment
- Cold brew coffee for depth against the citrus tang
- Toasted coconut shavings for texture and aroma
- Light white wines like Riesling or Moscato for a soft finish
10 Common Mistakes and How to Fix Them
| Problem | What Went Wrong | How to Fix It |
|---|---|---|
| Cracked top | Baked too long | Bake only until it jiggles slightly |
| Watery crust | Didn’t pre-bake | Always bake crust first for 10 minutes |
| Curdled filling | Juice added too fast | Whisk gently and slowly |
| Too tart | Too much lime juice | Balance with condensed milk or whipped cream |
| Too sweet | Not enough zest | Add more zest next time |
| Crust crumbles | Not enough butter | Use 6 tablespoons melted butter |
| Pale filling | Used regular limes | Key limes give natural golden color |
| Melted topping | Pie was warm | Always chill before topping |
| Sticky knife | Cut too soon | Chill at least 4 hours before slicing |
| Flat flavor | Old limes or canned juice | Always use fresh Key limes |
Best tools to make Key lime pie
- USA Pan 9-Inch Pie Pan for even heat
- OXO Good Grips Zester for perfect zest curls
- Hamilton Beach Hand Mixer for smooth filling
- Cuisinart Food Processor for fast, fine crumbs
Each of these turns pie-making from messy to magic.
Other dessert recipes


Conclusion
Key Lime Pie isn’t just dessert, it’s happiness in custard form. Every slice carries a burst of brightness that feels like summer even in winter. It’s proof that the simplest ingredients can create something unforgettable when handled with care and joy.
So grab your tiny limes, your favorite pie pan, and make yourself a reason to smile today.
Now tell me, are you team whipped cream or team meringue?

Yummy