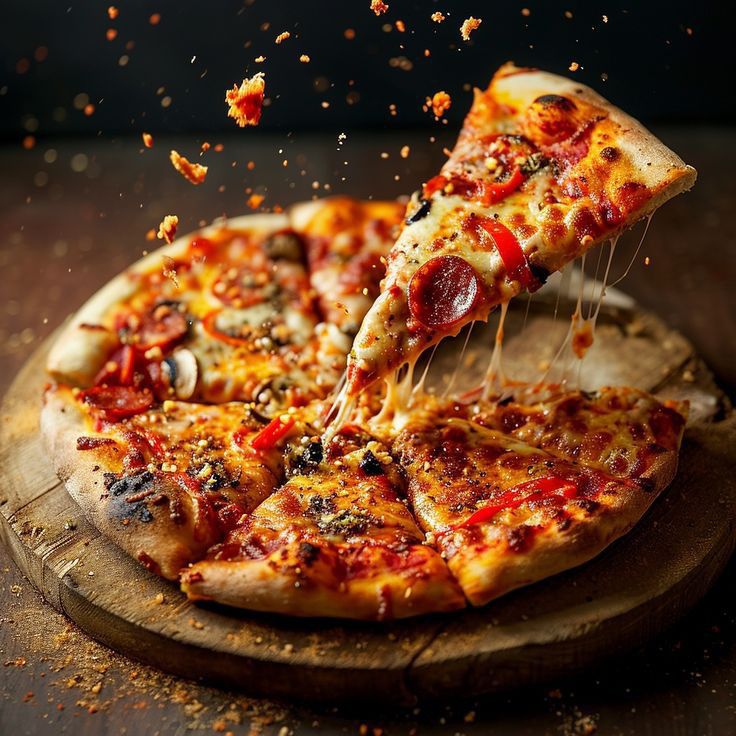
Authentic Pizza Dough Recipe
Imagine this: a warm evening, a hint of jazz playing in the background, and the aroma of freshly baked pizza wafting through your home. That’s exactly how I fell in love with the magic of homemade pizza dough. It all began with a spur-of-the-moment craving for pizza, and not wanting to wait for delivery, I decided to roll up my sleeves and make it myself. A little trial, a pinch of error, and a whole lot of flour later,I cracked the code to the perfect pizza dough.
In this post, I’ll guide you through the step-by-step process of making your own dough, sprinkle in some tips, and answer your burning pizza dough questions. Let’s turn your kitchen into a pizzeria!
Table of contents
Origin of Pizza
It’s a bustling street in Naples, Italy, in the 18th century. Bakers are hustling, flour clouds fill the air, and the aroma of freshly baked bread wafts around every corner. It was here that the humble pizza dough was born, crafted from the most basic pantry staples: flour, water, yeast, and salt. Originally, pizza was a food of the working class, a simple flatbread topped with whatever ingredients were available. Over time, it evolved into the global sensation we know and love today, with the dough serving as its heart and soul.
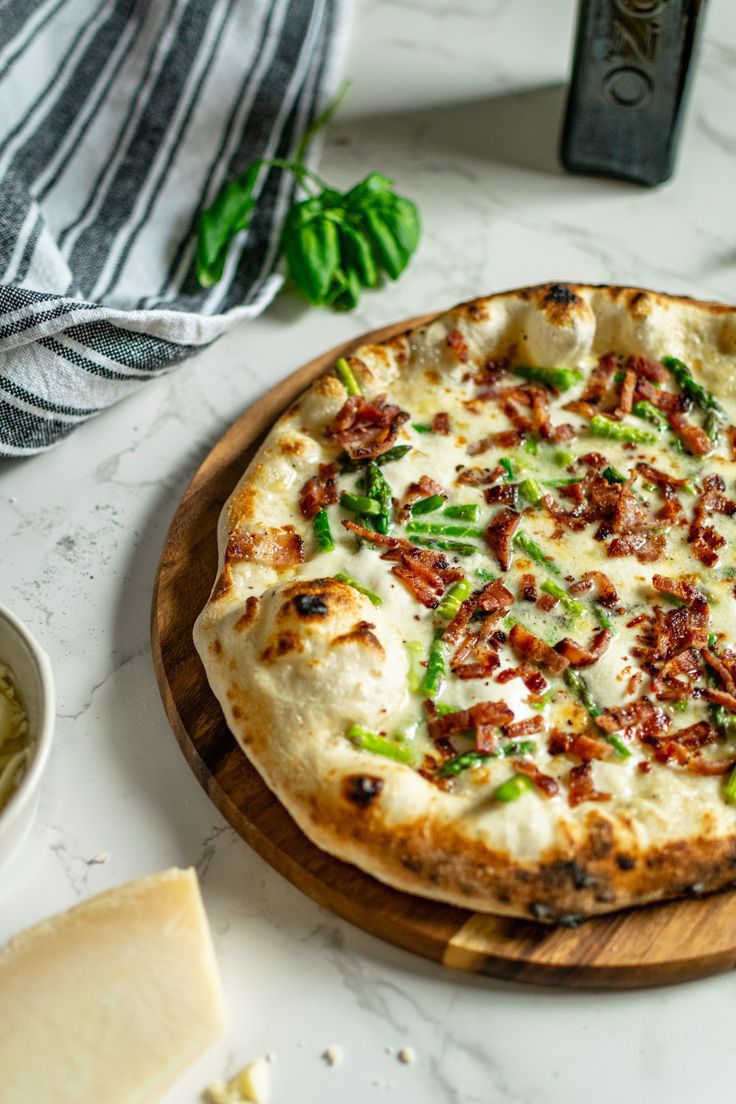
Did you know the first Margherita pizza was created in 1889 in honor of Queen Margherita of Savoy? The toppings, tomato, mozzarella, and basil, represent the Italian flag!
So, next time you’re crafting pizza dough, remember: you’re not just making dinner; you’re continuing a delicious legacy with room for endless creativity.
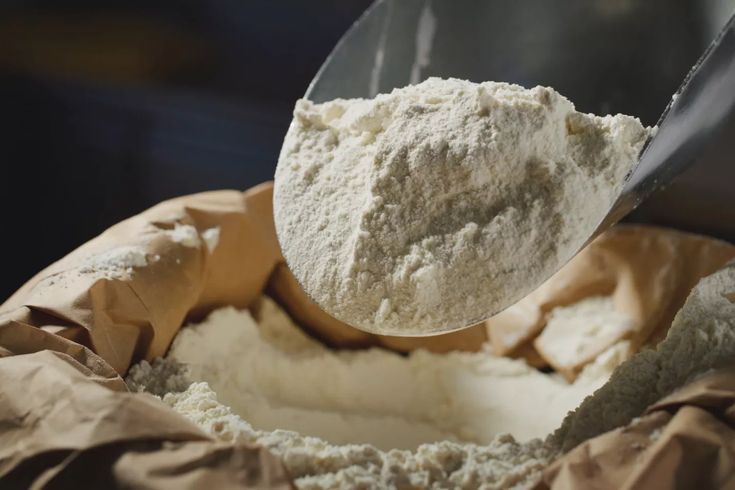
But before learning the techniques and recipe , know why Pizza flour important in making best Italian pizzas
How to Hand-Stretch Pizza Dough Like a Pro 🍕
There are different types You can roll out a pizza depending on your comfort level or maybe a little showdown with flour.
Using Rolling pin ( Basically for thin crust )
- Place the dough ball on your floured surface or even fine semolina flour.
- Start by pressing the dough ball with your fingertips into a flat disc, working from the center outward. This helps to spread it evenly without overworking the dough.
- Take your rolling pin and roll out the dough, applying even pressure from the center to the edges.
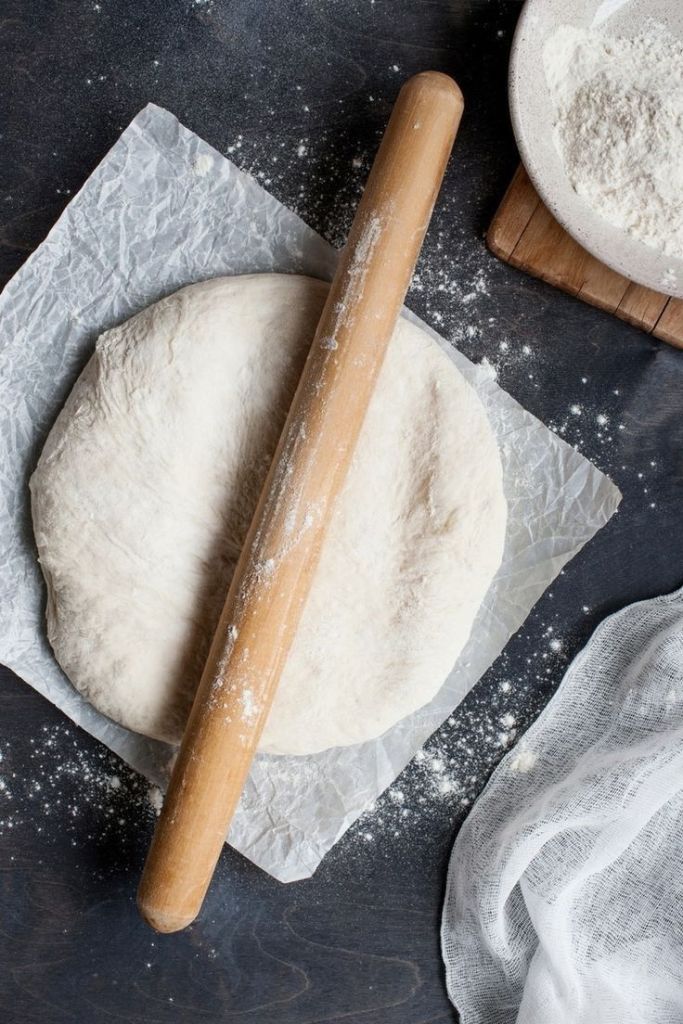
- Rotate the dough 90 degrees every few rolls to maintain an even shape and thickness. You want to keep the dough nice and round (or any shape you prefer)!Keep sprinkling a little flour under the dough as you roll to ensure it doesn’t stick to the surface.
- Roll until your dough is about 1/8-inch thick. If you like a thicker crust, leave it a little thicker; for a crispy thin crust, go thinner! Use your pizza stone or baking tray to check the size. The dough should roughly match the size of your pan or stone.
Using hands ( For Authentic Italiano feel )

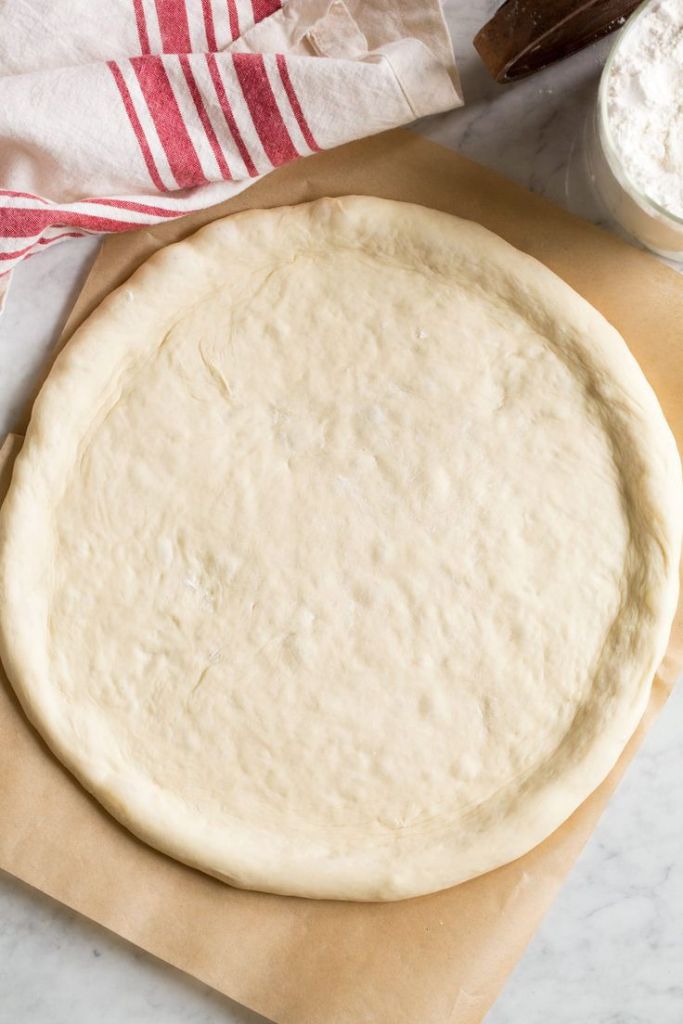
Place the dough ball on your floured surface. Using your fingertips, gently press the dough into a disc shape. Start from the center and work your way out to about 1-inch from the edge.

This creates a small rim for your crust. This is a very crucial step to get nice thick and fluffy crust.
- Then using your fingers start stretching your dough while not disturbing the rim, just slowly and gently stretch it towards out so it starts expanding and just a little, don’t go overboard cuz we have more showmanship coming.
- If you don’t have a good table to stretch you can just Gently lift the dough with your hands like you hold a cloth, letting it hang down. Rotate the dough slowly, stretching it with your fingers by pulling the edges out. Use your thumbs to stretch the dough, but be gentle – you don’t want to tear it!
- If the dough resists, let it rest for a couple of minutes to allow the gluten to relax, then continue stretching.


Then lift the dough on the back of your hands while the fingers are closed (like when you punch someone) and start rotating the dough like car wheel while stretching it a little towards outside.
You can also throw in the air unless you like messy flour on your kitchen and only if you are a good catcher.

Always check the size is even, if not adjust by stretching it evenly on all sides and make sure you don’t stretch it too thin also, sometimes pizza sauce makes it wet and tear and your pizza becomes a messy wet.
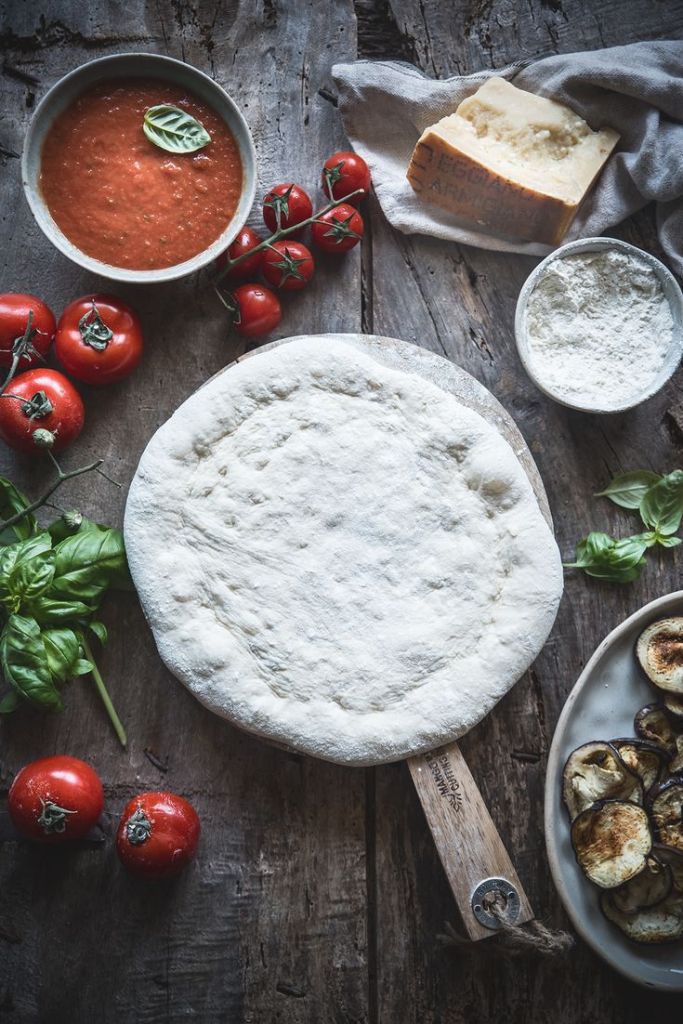
Once you reached your desired shape and size, either transfer them to the pizza stone or baking tray or pizza steel and fill in your pizza sauce and toppings of your choice and enjoy.
Step by step recipe guide for Pizza dough recipe
Ingredients
- Flour: 1 kg of pizza flour or all-purpose flour
- Yeast: 3 g
- Salt: 15 g
- Olive Oil: 25 ml
- Water: 600 ml
Step-by-Step Instructions for Perfect Homemade Pizza Dough
1. Wake Up Your Yeast:
First things first, let’s wake up that yeast! Dissolve 3 g of yeast in about 100 ml of warm water (just cozy, not scalding hot). Let it sit for 5 minutes. If you see a frothy, bubbly top – congrats, your yeast is alive and thriving! If not, your yeast might have taken early retirement. Time to grab a fresh packet. Using fresh yeast? No need to dissolve, add it directly to the mix.
2. Mix Your Dough:
Grab a bowl or, even better, your trusty stand mixer (your arms will thank you). Add your flour and olive oil to the bowl. Now make a little well in the center, think volcano science project, but tastier!
3. Add the Liquid Magic:
Pour in the frothy yeast mixture, then add the remaining water. Start stirring with a spoon, spatula, or dough hook until things start to come together. When it’s too thick to stir, switch to your hands, it’s messy, it’s fun, and it’s totally worth it!
4. Knead Like You Mean It:
Flour your surface and transfer the dough there. Knead for 10 minutes until the dough is smooth, elastic, and just a little springy. Think of it as giving your dough a solid workout, it’s going to be the star of the show, after all!
Shortcut Alert: Using a stand mixer? Let it do the kneading for 12 minutes, you can sip a coffee while it works!
5. Time to Rest:
Grease a bowl with a touch of oil, place your dough inside, and cover it with a damp cloth. Find a cozy, warm spot and let it nap for 2-4 hours. The dough will double in size, it’s like magic!
6. Punch and Shape:
Give the dough a gentle punch (no hard feelings, dough) to release those air bubbles. Divide it into portions, shaping each piece into a ball. Let them rest again for 1-2 hours. This extra rest makes the dough super pliable and easy to work with.
7. Preheat and Prep:
Set your oven to its highest setting (250°C/482°F) and preheat a pizza stone or baking tray. This step is crucial for that crispy, restaurant-style crust.
8. Roll, Top, and Bake:
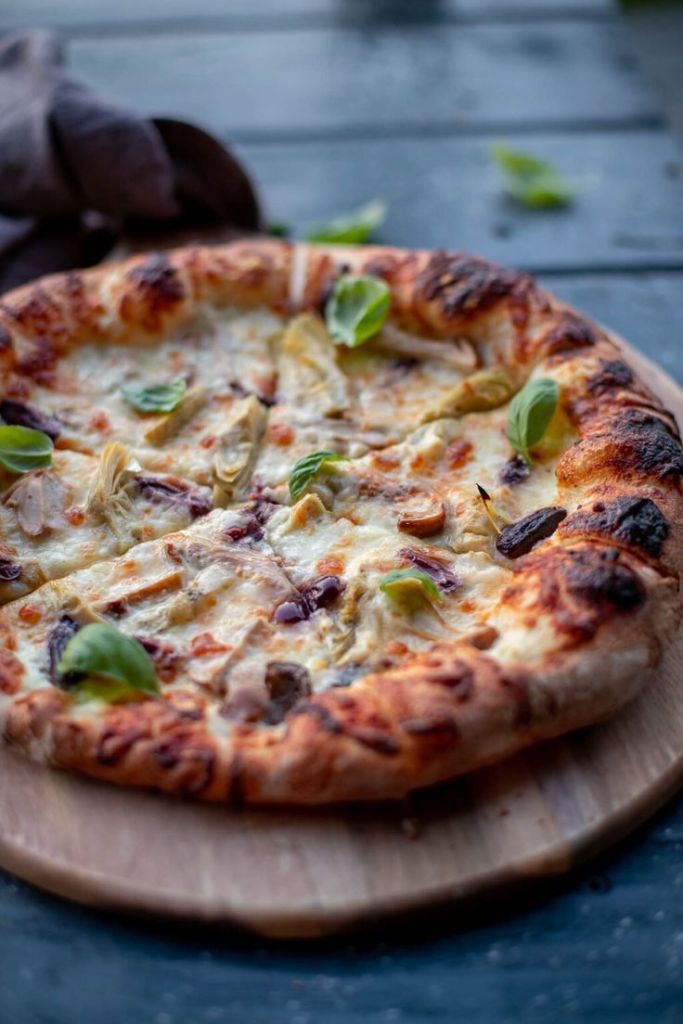
Roll out your dough on a lightly floured surface to your desired thickness. To check how to roll, see instructions above. Add your favorite toppings, classic Margherita, veggie overload, or a pepperoni extravaganza. Bake for 4-8minutes or until the crust is golden and irresistible. If using pizza stone or electric tandoor at high heat then 3-4 minutes , check for golden crust and if uncooked add more 1 or 2 minutes. if in OTG or conventional ovens bake for 8-12 minutes depending on the high heat.
Slice it up and dig in! Homemade pizza never tasted so good. You did it!
How to make homemade Pizza dough recipe?
Equipment
- Electric tandoor Pizza stone or oven if available
Ingredients
- 1 kg Pizza Flour All purpose flour
- 20 g Salt
- 25 g Olive oil
- 3 g yeast Instant dry yeast or fresh yeast
- 600 ml Water
Instructions
PREPARE THE DOUGH
- Start by waking up the yeast. Dissolve 3 g of yeast in a portion of the warm water (around 100 ml). Let it sit for 5 minutes until frothy. If it doesn’t froth, your yeast might have retired early—grab a fresh packet. If using fresh yeast you can use directly.
- In a bowl or stand mixer ( which makes the work easy ) add your flour and add olive oil.
- Make a well in your flour mixture. Pour in the frothy yeast, the remaining water. Stir until the dough starts to come together, then switch to your hands. Don’t worry about getting messy—it’s part of the fun!
- Transfer the dough to a floured surface and knead for 10 minutes. It should feel smooth and elastic. Imagine you’re giving the dough a nice workout—it deserves it.This can be omitted if Stand mixer is used. Just knead for 12 minutes until it becomes soft and smooth dough.
- Place your dough in an oiled bowl, cover it with a damp cloth, and let it rest in a warm spot for 2-4 hours. It’ll double in size, like magic!
- Punch down the dough to release air bubbles, divide it into portions, and shape each into a ball and apply olive oil on top the balls. Let these rest for 1-2 hours.

- Preheat your oven to its highest setting (around 250°C/482°F). Roll out your dough on a floured surface or check out how to roll in the post above, top with your favorite ingredients, and bake on a preheated pizza stone or tray for 10-12 minutes. Voilà—pizza perfection!
- If using pizza stone or electric tandoor at high heat then 3-4 minutes , check for golden crust and if uncooked add more 1 or 2 minutes. if in OTG or conventional ovens bake for 8-12 minutes depending on the high heat.
Nutrition
Variations and substitutes
Not all pizza doughs are created equal! Here are some popular variations:
- Whole Wheat Pizza Dough: For a nutty flavor and added fiber.
- Sourdough Pizza Dough: Adds tanginess and chewiness.
- Gluten-Free Pizza Dough: Use a mix of GF flour and xanthan gum.
- No-Yeast Pizza Dough: Use baking powder for a quick fix.
- Cauliflower Crust: For a low-carb option that’s surprisingly delicious.
Substitutes: If you don’t have bread flour, all-purpose works fine. Out of yeast? Try self-rising flour for a flatbread-style dough.

Stand mixer
A stand mixer is a versatile kitchen essential that makes mixing, kneading, and whipping effortless. With powerful motors and various attachments, it tackles everything from pizza dough to cake batter, saving you time and energy.
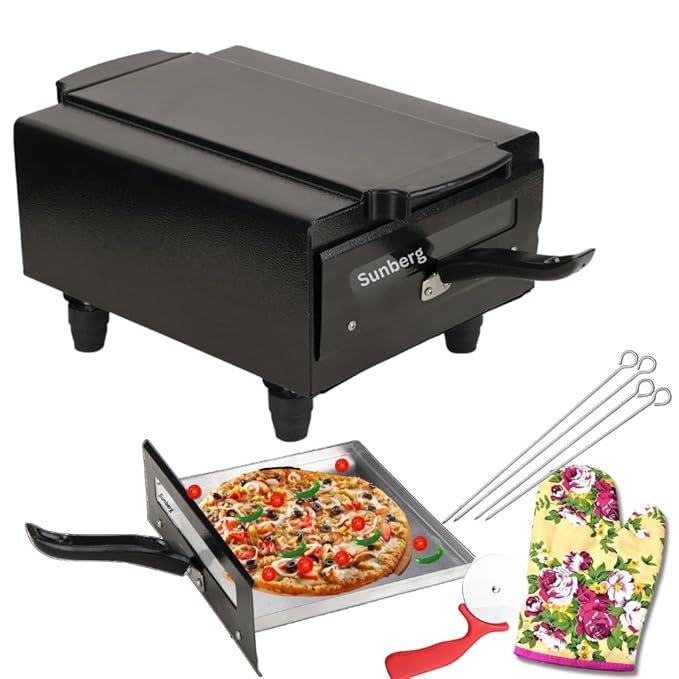
Electric tandoor for pizza and kebabs
An electric tandoor is a compact, user-friendly appliance that brings the authentic flavors of tandoori cooking right into your kitchen. Ideal for grilling, baking, and roasting
Frequently asked questions
Can I use instant yeast instead of active dry yeast?
Absolutely! Use the same amount, but skip the activation step and mix it directly with the flour.
What’s the difference between pizza flour and all-purpose flour?
Pizza flour has a higher protein content, giving you a chewier crust. All-purpose flour works too, but the texture will be slightly softer.
Can I freeze the dough?
Yes! After the first rise, divide the dough into portions, wrap tightly in plastic, and freeze. When ready to use, thaw overnight in the fridge.
My dough isn’t rising, what went wrong?
Double-check the yeast (it could be expired), and ensure the resting spot is warm (but not too hot!).
Still having doubts or questions regarding, no worries check out the detailed guide on Homemade pizza dough and bake like a pizzeria anywhere from world.
Notes and Pro Tips


Cold Fermentation: Let the dough rest in the fridge for 24 hours for a deeper, tangy flavor.
Hydration Level: If the dough feels too sticky, add a bit more flour. If it’s too dry, add a splash of water.
Baking Hack: Don’t have a pizza stone? Use an upside-down preheated baking tray for a similar effect.
Oiling Tip: A light drizzle of olive oil around the crust before baking makes it extra golden and flavorful.
Conclusion
Making pizza dough from scratch is more than just cooking, it’s a joyful adventure. Whether it’s for a family dinner, a date night, or a pizza party with friends, this recipe will have everyone singing your praises. The beauty of homemade dough is its flexibility, you can adapt it to suit your preferences, experiment with flavors, and create something truly yours.
So, roll up your sleeves, dust your countertop with flour, and get ready to bring a slice of Italy to your kitchen. After all, nothing beats the taste of pizza made with love.
Hungry for more recipes? Check out our homemade sauce recipes to pair with this dough. Or dive into our food forum for more pizza inspiration!