A Happy Accident Turned Culinary Magic
The first time I saw a coral tuile in a professional kitchen, it didn’t even look real. A delicate, lace-like crisp forming in seconds on a hot pan light, airy, and impossibly elegant. It’s one of those garnishes that instantly transforms a plate from “home-cooked” to fine-dining level.
What surprised me most? It’s ridiculously simple once you understand the technique.
After testing multiple ratios and making every possible mistake (yes, including oily disasters and flat pancakes instead of lace), I’ve broken this down into a foolproof method you can replicate at home.
I still remember my first attempt at making coral tuile, it was a disaster. I envisioned a beautiful, lacy garnish to top my dish, but what I got was an oil-drenched, overcooked mess that looked more like burnt paper than an elegant decoration. I thought, How hard could this be? It’s just a few simple ingredients. I tried 5 different versions before actually making a proper tuile and Turns out, technique is everything. After multiple trials (and a fair share of frustration), I finally cracked the code! And when I did, I felt like a magician creating edible lace.
Today, I’m here to save you from the mistakes I made and guide you through the process of making the perfect coral tuile! Coral tuile turns crispy when: cooked until oil stops bubbling, the pan is hot enough, batter is thin and balanced so let’s take about how to many not oily soft tuiles with perfect recipe.
Table of contents
- What is Coral Tuile?
- The Origin of Coral Tuile
- My Unique Coral Tuile Recipe
- Best Pairings for Coral Tuile
- Variations to Try
- Substitutes for Ingredients
- Troubleshooting Coral Tuile Issues
- Conclusion: Tiny Details, Big Impact!
What is Coral Tuile?
A coral tuile is a thin, crispy garnish known for its delicate, hole-filled structure that resembles a sea coral. It’s made with a simple emulsion of oil, water, and flour, which separates during cooking to create its signature lace-like appearance. It adds a crunchy texture and an artistic touch to both sweet and savory dishes.

The Origin of Coral Tuile
The exact origin of coral tuile is a bit of a mystery, but its technique has roots in classic French cuisine. Tuiles (meaning “tiles” in French) have long been used as decorative elements in fine dining, typically made from sweet batters or cheese. The coral variation gained popularity in modern gastronomy as chefs experimented with textures and plating aesthetics. Some say its inspiration comes from the crisp rice crackers of Asian cuisine, where starches and water create similar airy textures.
How to Make Coral Tuile Garnish Step by Step
Ingredients:
- 100 ml water
- 30 ml vegetable oil (neutral, like sunflower or canola)
- 10 g all-purpose flour (or cornstarch for a gluten-free version)
- 1/4 tsp salt
- Food coloring (optional, for a vibrant look)
Instructions:
Step 1: Mix the Batter
In a small bowl, whisk together water, oil, flour, and salt until well combined. The mixture will look thin and watery, don’t worry, that’s exactly what we want! If using food coloring, add a drop or two and mix well.
Step 2: Preheat the Pan
Heat a non-stick pan over medium-high heat. No need for additional oil! The oil in the batter will do the job.
Step 3: Cook the Tuile
Once the pan is hot, pour a small amount of batter (about 1 tbsp) into the center. It will immediately start bubbling and spreading. Let it cook undisturbed for about 30-45 seconds or until the edges lift slightly and the tuile turns crispy.
Step 4: Remove & Cool
Carefully lift the tuile with a spatula and transfer it to a paper towel to drain excess oil. Let it cool completely, it will crisp up even more as it cools.
Step 5: Serve & Impress
Use it to garnish dishes like seafood, creamy soups, or even desserts.
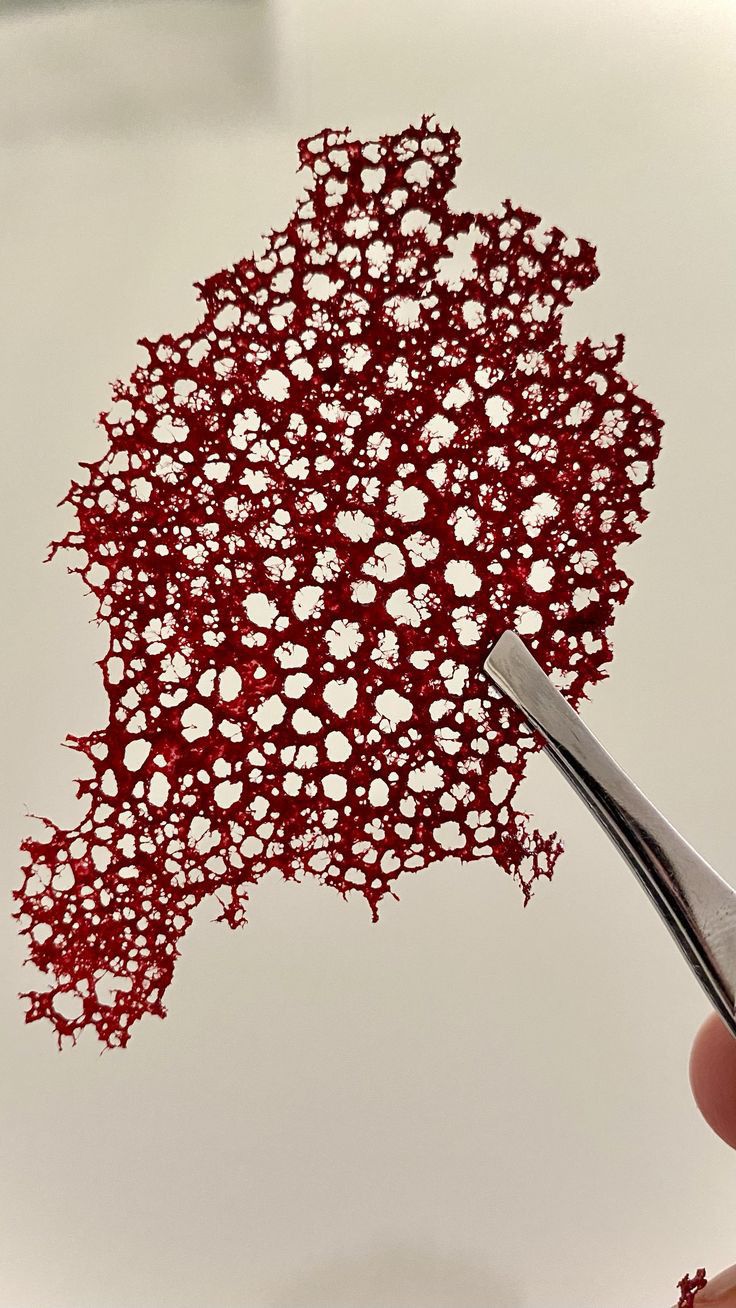
How to make basic coral tuile recipe ?
Equipment
- Frying Pan or small Non stick pan
- Mixing bowls
- Whisk
Ingredients
- 100 ml Water
- 30 ml Vegetable oil
- 10 g All purpose flour
- 2 g Salt
- Food coloring optional
Instructions
- In a small bowl, whisk together water, oil, flour, and salt until well combined. The mixture will look thin and watery but don’t worry, that’s exactly what we want! If using food coloring, add a drop or two and mix well.
- Heat a non-stick pan over medium-high heat. No need for additional oil! The oil in the batter will do the job.
- Once the pan is hot, pour a small amount of batter using a small laddle or spoon or depending on the size you want into the center. It will immediately start bubbling and spreading. Let it cook undisturbed until the edges lift slightly and the tuile turns crispy.
- Let it slowly cook until the oil splattering is stopped and you start to see the lace formation.
- Carefully lift the tuile with a spatula and transfer it to a paper towel to drain excess oil. Let it cool completely, it will crisp up even more as it cools.
Notes
- Use a Non-Stick Pan: A non-stick pan is essential to prevent sticking and ensure an even, lacy texture. Avoid stainless steel or cast iron pans.
- Pan Temperature Matters: If the pan is too hot, the tuile will burn before forming its delicate holes. If too cold, it won’t crisp up properly. Medium-high heat works best.
- Don’t Stir Once Poured: After pouring the batter, resist the urge to spread or stir it. Let it naturally bubble and form its signature pattern.
- Thin Batter is Key: The batter should be very liquid—thicker batters won’t create the desired coral effect. If needed, add a little more water to loosen it.
- Avoid Overcrowding: Cook one tuile at a time for the best results. Pouring too much batter at once can prevent the proper formation of holes.
- Coloring Tips: Use gel or powder food coloring for vibrant hues. Liquid food coloring may alter the batter’s consistency.
-
Flavor Enhancements:
- Add grated Parmesan for a savory twist.
- Infuse with herbs and spices like paprika, turmeric, or black sesame for extra flavor.
- For a sweet version, add a tiny pinch of sugar and vanilla extract.
- Storing Coral Tuiles: Keep them in an airtight container at room temperature for up to 3 days. Avoid humid areas, as moisture can make them soft.
- Fixing Soft Tuiles: If your tuiles lose crispiness, reheat them in a dry pan over low heat for a few seconds to restore their crunch.
Nutrition
Chef’s Tips for Perfect Coral Tuile
- Use a non-stick pan only
Even slight sticking will tear the lace structure before it sets. - Medium heat is everything
Too high, and it burns before forming holes. Too low, and it won’t create the signature coral pattern. - Don’t touch it too early
Let the bubbles fully form and the oil separate before attempting to lift. - Work in small batches
Pouring too much batter at once leads to uneven structure and soggy spots. - Drain immediately on paper towel
This step is what gives you that ultra-light, crispy finish instead of a greasy one. - Shape while warm
If you want curves or waves, place it over a rolling pin or bowl right after removing from the pan. - Consistency matters more than exact measurements
Your batter should be thin and fluid, closer to cream than pancake batter. - Oil quality affects flavor
Use neutral oils like sunflower or grapeseed to keep the tuile clean-tasting and elegant.
Best Pairings for Coral Tuile
Savory Pairings:
- Seafood Dishes: Coral tuile enhances dishes like seared scallops, shrimp tartare, or grilled salmon with an elegant crunch.
- Soups & Veloutés: The airy crispness pairs beautifully with creamy soups like pumpkin soup, lobster or prawn bisque, or truffle-infused mushroom soup.
- Salads & Tartares: A stunning addition to avocado tuna tartare or burrata salads, adding texture and visual appeal.
Sweet Pairings:
- Creamy Desserts: Serve alongside panna cotta, crème brûlée, or mousses for a crunchy contrast.
- Ice Cream & Sorbets: Adds a playful, crispy element to vanilla, citrus, or berry-flavored desserts.
- Chocolate Dishes: Pair with dark chocolate ganache or fondants for a dramatic plating effect.
Variations to Try
- Spiced Coral Tuile: Add a pinch of paprika, turmeric, or black sesame for a flavored tuile that complements savory dishes.
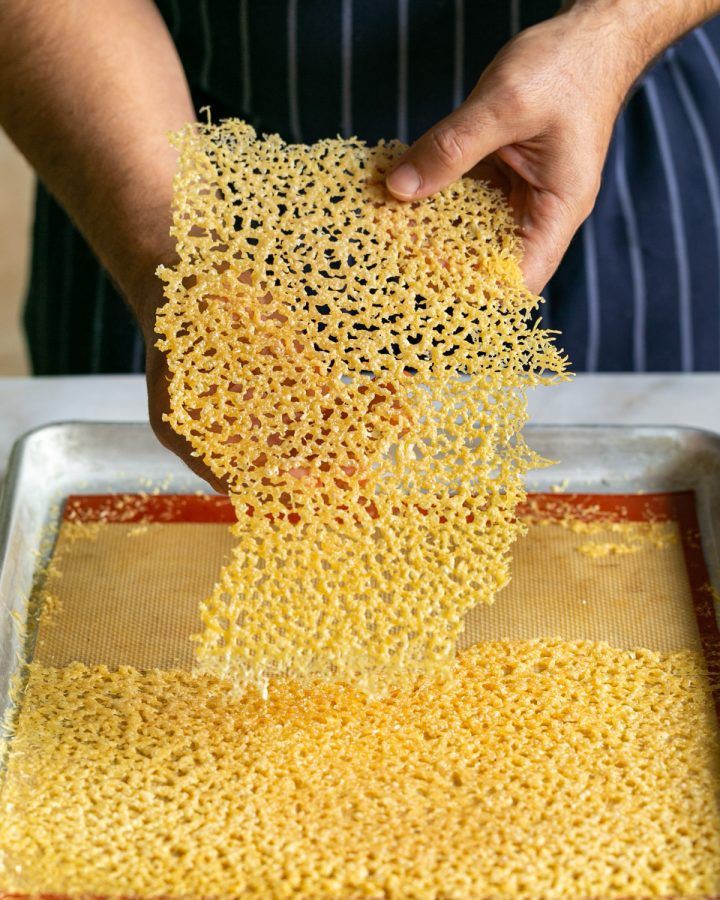
- Parmesan Tuile: Mix in 1 tbsp of finely grated Parmesan for a cheesy, umami-rich variation.
- Squid Ink Tuile: Add a few drops of squid ink to give your tuile a dramatic black color and a subtle briny taste.
- Sweet Coral Tuile: Replace salt with a pinch of sugar and use fruit purées or cocoa powder for a dessert-friendly version.

Substitutes for Ingredients
- All-Purpose Flour → Cornstarch or Rice Flour (for a gluten-free version)
- Vegetable Oil → Olive Oil or Coconut Oil (for added flavor)
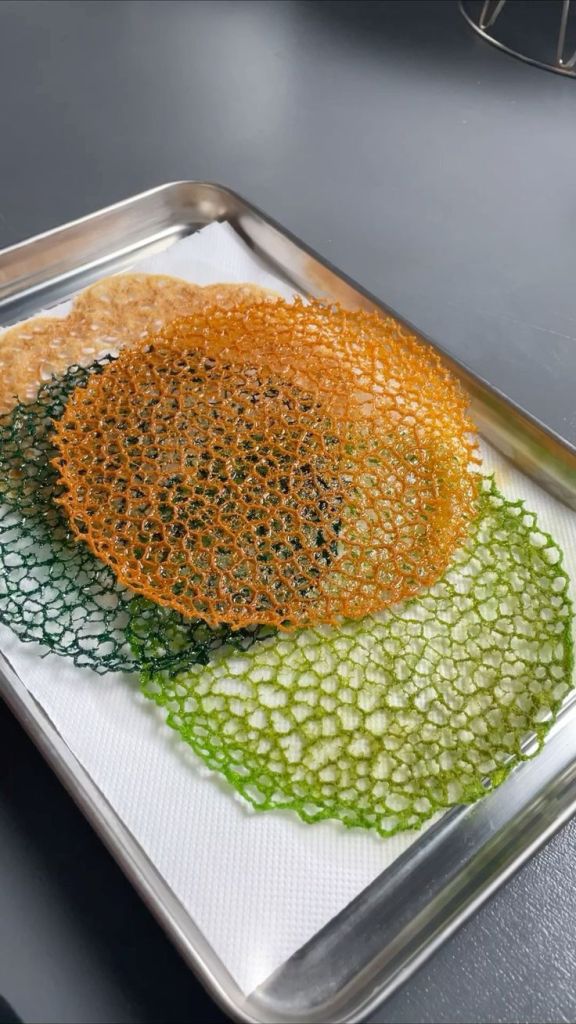
- Food Coloring → Natural Powders (beetroot powder for red, matcha for green, turmeric for yellow)
Troubleshooting Coral Tuile Issues
1. Why is my coral tuile not forming holes?
Possible Cause: Your pan might not be hot enough. The batter needs high heat for the oil and water to separate properly, creating the signature lacy effect.
2. How to fix oily coral tuile ?
Possible Cause: You may have used too much batter or removed it too soon. Let it cook until it naturally lifts from the pan to allow excess oil to evaporate.
3. My tuile is burning before crisping up!
Possible Cause: The heat may be too high. Adjust to medium heat and let it cook slowly until it crisps up without burning.
4. How do I store coral tuiles?
Solution: Keep them in an airtight container at room temperature for up to 3 days. Avoid humid environments, as moisture can make them soft.
4. Can I make these in advance?
Yes! Store them in an airtight container at room temperature for up to 3 days to maintain crispiness.
5. Can I bake instead of pan-frying?
Not really—the high heat from the stovetop is crucial for the oil-water separation that creates the coral effect.
6. Can I use butter instead of oil?
Butter has water content that can interfere with the crisping process, so it’s not the best choice. Stick to neutral oils.
For any doubts or if you are facing any issues related when making coral tuile recipe, check out the FAQ guide on coral tuile recipe.
Conclusion: Tiny Details, Big Impact!
Mastering the coral tuile takes patience, but once you get it right, you’ll wonder why you didn’t try it sooner. It’s the kind of garnish that transforms a dish from homemade to restaurant-quality. Whether you go classic or experiment with flavors, this delicate lace will have your guests asking, How did you make that?!
So, go ahead – get creative, embrace the fails (like I did), and let your plating skills shine!